The first time you connect an antenna, the TV may show a blank screen even when the antenna is working perfectly. That is usually because the television has not been told to look for over-the-air broadcasts yet. Once you set up antenna channels correctly, you can watch available local news, network shows, live sports, weather coverage, and public television in high definition without relying on a cable or satellite feed.
The process is simple on most modern TVs, but the right settings matter. A channel scan can only find signals that reach the antenna, so setup and reception work together. Start with the scan, then use the results to decide whether your antenna location or equipment needs attention.
Before You Set Up Antenna Channels
Make sure the coaxial cable from the antenna is firmly attached to the port marked ANT IN, CABLE/ANT, RF IN, or a similar label on the back of the television. Do not connect it to an HDMI port. If your antenna system includes a signal amplifier or distribution equipment, confirm that any required power supply is connected and switched on.
Next, select the correct television input. On many TVs, this is called TV, Antenna, or Live TV. If the screen is set to HDMI 1, HDMI 2, or a streaming device input, the channel scan menu may not appear or the TV may continue showing the wrong source.
It also helps to understand what an antenna can receive. Over-the-air television is made up of local broadcast signals. The exact stations available depend on your address, nearby broadcast towers, terrain, building materials, antenna type, and placement. A scan will not add cable-only networks, but it can reveal more free local programming than many households expect.
How to Set Up Antenna Channels
Open your TV’s Settings, Menu, or Setup area. The wording changes by brand, but look for a section such as Channels, Broadcasting, Tuner, or Live TV. Choose Auto Program, Auto Tune, Channel Scan, or Auto Channel Search.
When the TV asks what kind of signal you are using, choose Antenna, Air, or Over the Air. Do not choose Cable unless a cable provider is actually connected to the TV. This is the setting that tells the tuner to search for local broadcast frequencies.
Start the scan and let it finish completely. Depending on the TV, this can take several minutes. Avoid changing inputs, turning off the TV, or disconnecting the antenna while it searches. When the scan ends, the TV will save the channels it found and place them in its guide or channel list.
Try a few stations after the scan. Test a major network affiliate, a public television station, and any channels that appeared near the end of the list. You are checking for more than a picture. Listen for clear audio and watch for freezing, pixelation, or a picture that drops in and out.
If your television displays stations as numbers like 4.1, 4.2, and 4.3, that is normal. Broadcasters often use one signal to carry a main channel plus additional subchannels. These may include classic TV, movies, weather, local programming, or specialty networks.
Use the TV Guide After the Scan
Many televisions build a program guide after channels are found. Guide data may take a little time to populate, especially after a first scan or a factory reset. If a station appears but has no schedule immediately, leave the TV connected to the antenna and revisit the guide later.
You can also use the channel list to remove stations you never watch, mark favorites, or arrange quick access to the channels your household uses most. That small bit of cleanup makes antenna TV feel much more like the service you are used to.
Why a Channel Scan May Miss Stations
A successful scan does not always mean you found every channel that should be available. The television only records signals that are strong and stable enough at the moment of scanning. If a station is weak, the TV may skip it entirely or save it but struggle to display it later.
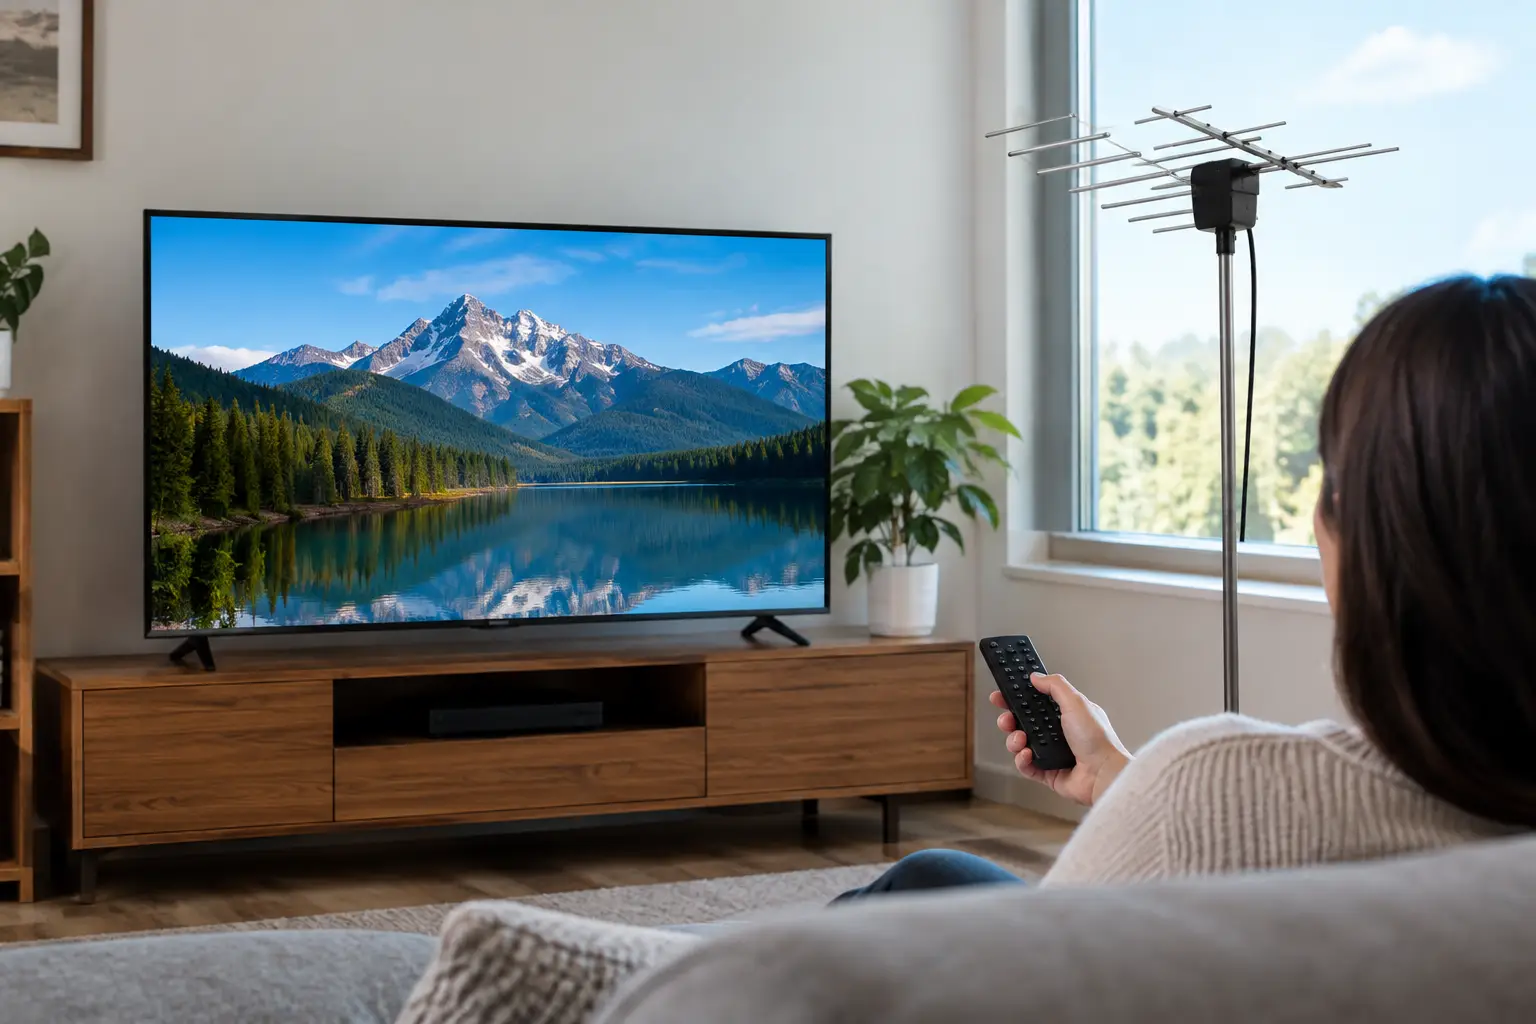
Indoor antennas are convenient, but their placement can make a major difference. A few feet, a different wall, or a higher location may improve reception. Keep an indoor antenna away from large metal objects, dense electronics, and areas blocked by concrete or heavy construction. Windows facing the general direction of local broadcast towers can help, although every home is different.
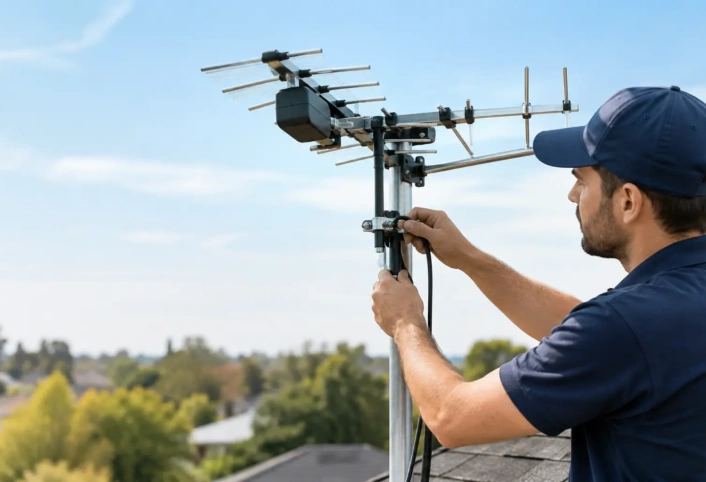
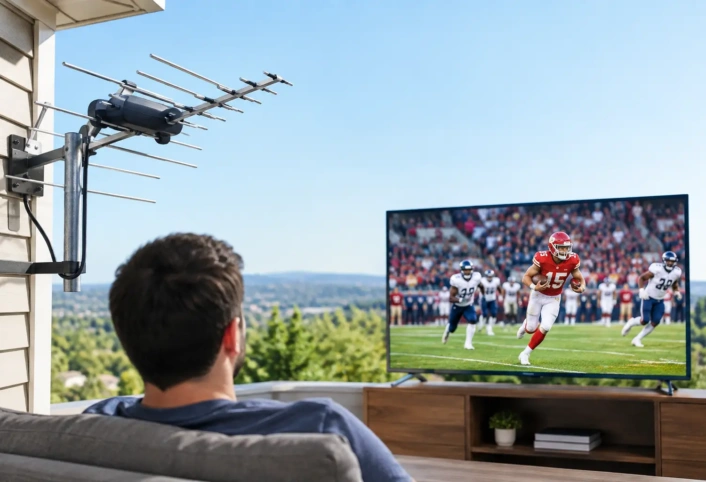
Outdoor and attic-mounted antennas often provide a stronger, more consistent signal because they can be positioned higher and away from many indoor obstructions. That does not mean an outdoor installation is automatically right for every property. Roof design, signal direction, wiring paths, the number of TVs, and local conditions all affect the best approach.
In South Florida, weather can also expose weak points in a system. Heavy rain, wind, corroded connections, loose fittings, or water intrusion can affect reception. If channels disappear after a storm, check visible equipment only when it is safe to do so. For roof-mounted components or persistent reception issues, professional service is the safer choice.
Fix Common Antenna Channel Problems
If the scan finds zero channels, begin with the basics. Confirm that the television is in antenna or air mode, not cable mode. Tighten the coaxial connection at both the TV and wall plate or antenna feed. If you use an amplifier, verify that it has power. Then run the scan again.
If the TV finds channels but the picture breaks up, reception is likely marginal. First, try repositioning the antenna and rescan. A scan is worth repeating after any adjustment because the TV may recognize stations it missed before. For an indoor antenna, move it higher, rotate it slightly, and test more than one location before deciding it cannot work.
If only one television has trouble in a multi-TV home, the issue may be in that room rather than at the antenna. A damaged cable, splitter, wall plate, or connector can reduce signal quality. If every television is missing the same stations, look at the antenna’s placement, aiming, signal strength, or shared distribution equipment.
Avoid adding random amplifiers in hopes of solving every problem. An amplifier can help overcome signal loss in some installations, especially with longer cable runs or multiple TVs. But if the incoming signal is poor, an amplifier may also boost interference and make reception worse. The right equipment depends on the signal conditions, not just the number of bars on a product package.
When to Run Another Scan
Rescan after moving or replacing an antenna, changing cabling, restoring power to equipment, or making a significant adjustment to the system. It is also smart to rescan occasionally because local broadcasters can add or change subchannels.
You do not need to scan every time a single station has a brief outage. Check a few other channels first. If they are working normally, the broadcaster may be experiencing a temporary problem. If multiple stations are affected, inspect the system and consider a fresh scan after addressing the likely cause.
Get More From Your Antenna System
Your TV’s built-in tuner is enough for basic viewing, but a well-planned antenna system can serve more than one room and support the way your household actually watches television. The goal is not simply to receive a signal. It is to get dependable access to the local channels that matter most, where you want to watch them.
A professional installation is especially useful when reception is inconsistent, the antenna must be mounted outside, several televisions need service, or you are not sure which antenna type fits your location. Trained technicians can assess signal conditions, select practical mounting and wiring options, and configure the system so you can spend less time troubleshooting your TV.
For homeowners in Miami-Dade, Broward County, and Monroe County, Antenna Master can help turn a confusing scan-and-guess process into a properly configured over-the-air TV setup. Once your channels are tuned in and stable, local television is ready when you need it – no complicated routine required.