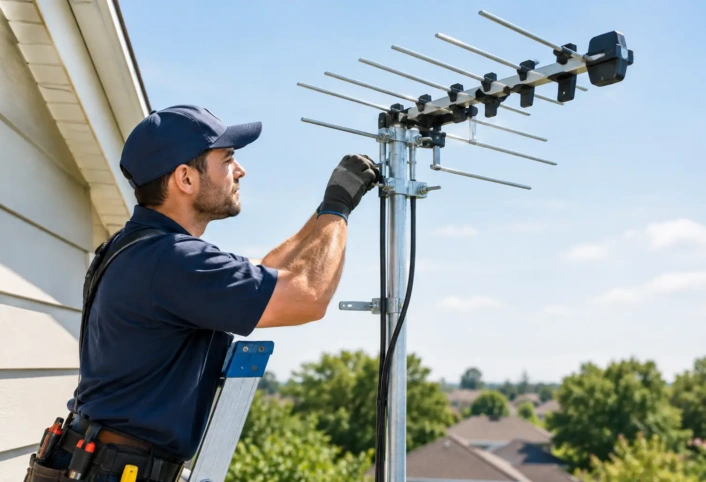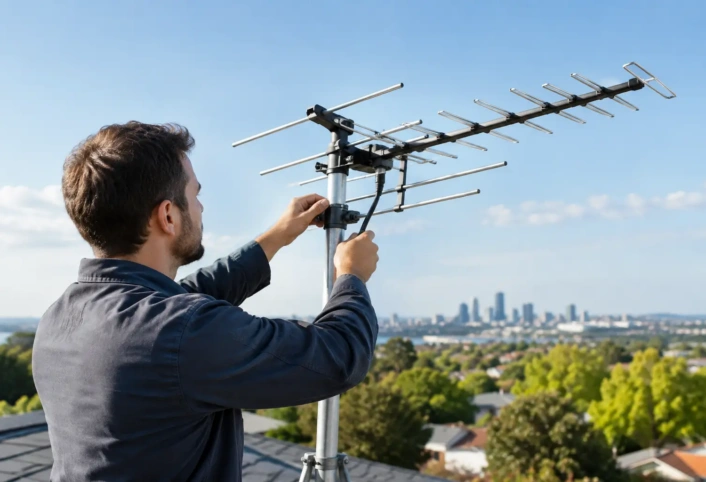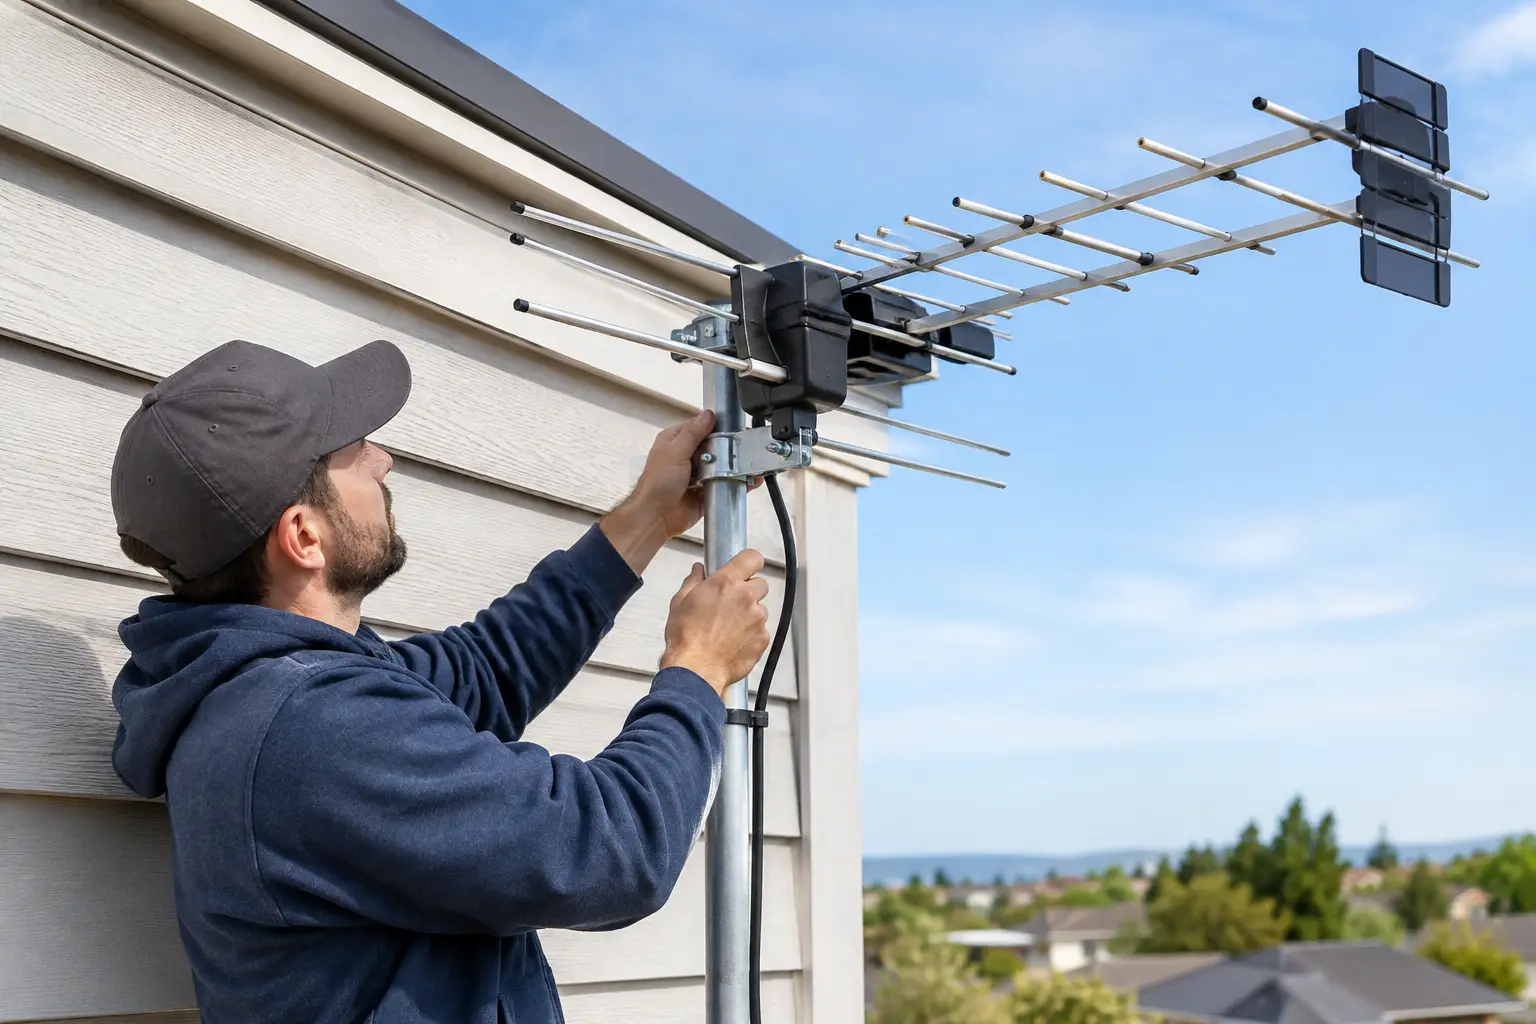
A rooftop antenna can bring local news, network shows, live sports, and high-definition television back into your home without relying on a pay-TV package. But a strong result depends on more than buying an antenna and attaching it to the nearest roof edge. Knowing how to mount an outdoor antenna starts with signal planning, safe placement, secure hardware, and a clean connection to your TVs.
The goal is simple: give the antenna the clearest practical path to local broadcast towers while keeping the installation stable, weather-ready, and safe for your home. A few inches of placement can make a noticeable difference, especially in areas with trees, nearby buildings, or long cable runs.
How to Mount an Outdoor Antenna Safely
Before climbing a ladder, look up. Never install an antenna near overhead power lines or where the antenna, mast, ladder, or your body could come close to them. This is not a shortcut situation. Wet roofs, high winds, unstable ladders, and unfamiliar roof surfaces add risk quickly.
If your roof is steep, fragile, difficult to access, or near electrical service lines, professional installation is the smart move. A trained technician can evaluate safe mounting options, locate broadcast signals, route cable neatly, and complete the grounding required for a dependable antenna system.
Start from the ground by identifying the likely direction of the broadcast towers serving your area. In South Florida, reception conditions can vary by neighborhood because of dense development, coastal weather, vegetation, and the height of surrounding homes. The strongest location is usually not automatically the highest point on the roof. It is the spot that combines a clear signal path with a solid, safe structure for mounting.
Choose the Right Mounting Location
An outdoor antenna needs height and a reasonably open view, but it also needs support. Common mounting locations include a roof-mounted mast, a chimney mount, an existing pole, or a gable-end wall bracket. Each can work well when matched to the home and antenna size.
A roof-mounted mast often provides excellent elevation. However, every roof penetration must be properly sealed to prevent leaks. A chimney mount can avoid roof penetrations, but only if the chimney is structurally sound and the straps will not damage masonry. Wall mounts can be a practical choice where a roof installation is unnecessary or difficult, although they may sit lower and face more obstruction from the home itself.
Avoid mounting directly to thin fascia boards, loose siding, gutters, or a vent pipe. These surfaces are not designed to carry the wind load created by an antenna and mast. Wind is the long-term test of every installation. An antenna that looks level on a calm afternoon can shift, loosen, or damage the mounting surface after repeated storms if the hardware is not anchored correctly.
Keep the antenna away from metal roofing features, solar equipment, large air-conditioning units, and dense tree cover when possible. Metal and nearby obstructions can affect reception patterns. Trees can be especially unpredictable because leaves, moisture, and seasonal growth change the signal path over time.
Test reception before finalizing the mount
If conditions allow, it helps to test the antenna from a temporary position before drilling or securing permanent hardware. Connect the antenna to a TV or signal meter, aim it toward the expected broadcast towers, and run a channel scan. Move it slightly and scan again if results are weak or inconsistent.
This test helps separate two common problems: a location issue and an antenna-selection issue. A larger antenna is not always the answer. If the antenna is pointed poorly, blocked by the house, or connected through damaged cable, even a powerful model may underperform.
Use Hardware That Can Handle the Weather
A stable outdoor installation relies on the complete mounting system, not just the antenna. Use a mast that matches the antenna manufacturer’s recommendations, corrosion-resistant brackets and fasteners, and hardware rated for exterior use. The mast must be plumb, meaning straight up and down, so the antenna can be aimed accurately and the load stays evenly distributed.
For taller masts or larger directional antennas, guy wires may be needed. These tensioned support wires reduce movement in wind, but they need secure anchor points and proper tension. Too loose, and they do little. Too tight, and they can strain the mast or mounting points.
Use a weather boot or proper flashing wherever cable or mounting hardware passes through the roof. Seal fastener penetrations with materials designed for your roof type. A bead of generic sealant alone is not a lasting roofing strategy. Good installation protects both television reception and the home underneath it.
Aim the Antenna With Purpose
Most outdoor TV antennas are directional or multi-directional. A directional antenna generally needs to be aimed toward the broadcast towers for the best results. A multi-directional antenna may receive signals from several directions, but it can still benefit from careful positioning.
Start with the antenna level and pointed toward the primary group of local towers. Then run a channel scan on the TV. If some channels are missing, rotate the antenna in small increments rather than making large turns. Scan again after each meaningful adjustment.
Reception is often a trade-off. Pointing the antenna one way may improve one station while weakening another that broadcasts from a different direction. In some homes, a properly selected antenna and precise aim solve the issue. In others, the system may need a different antenna design, a preamplifier, or a carefully planned setup to serve stations coming from more than one direction.
Do not assume an amplifier will fix a weak signal. Amplifiers can help overcome signal loss from long cable runs or multiple TVs, but they can also amplify interference or overload a system in areas with strong local signals. The right equipment depends on the signal environment, cable length, and number of connected televisions.
Run and Protect the Coaxial Cable
Use quality outdoor-rated coaxial cable and keep the run as direct as practical. Every unnecessary splitter, coupler, sharp bend, and extra length can reduce signal strength. Secure the cable with appropriate clips, leaving enough slack near the antenna to prevent strain on the connector.
Create a drip loop before the cable enters the home. This is a small downward loop that helps rainwater fall away rather than following the cable into an entry point. Seal exterior wall penetrations and use a weatherproof connector where needed.
If the signal will serve multiple TVs, use a splitter designed for over-the-air television frequencies. A weak or poorly matched splitter can cause channels to disappear, pixelate, or cut out. It is also worth checking any existing cable-TV wiring. Older splitters, damaged coax, and unused wall connections can limit an otherwise good antenna installation.
Ground the System Correctly
Grounding is a critical part of mounting an outdoor antenna. It helps reduce the risk from electrical surges and provides a safer path for unwanted electrical energy. The antenna mast and coaxial cable should be grounded in accordance with applicable electrical codes and the installation requirements for your property.
This work is more specific than attaching a wire to a convenient piece of metal. Grounding points, wire type, bonding, and cable grounding blocks all matter. A professional antenna installer understands how to integrate the system with the home’s existing electrical grounding setup without creating new problems.
Know When Professional Installation Delivers More
A do-it-yourself mount can make sense for an easy-to-access, single-TV setup with a clear signal path. But homes with multiple televisions, challenging reception, long cable runs, tall rooflines, or strict appearance requirements benefit from professional planning.
Antenna Master technicians help homeowners turn cord-cutting into a finished television solution, not a weekend experiment that leaves loose cable, missing channels, or a questionable roof mount. The right installation includes antenna selection, placement, aiming, wiring, grounding, and a final check that your TVs are receiving the local channels you want.
A properly mounted outdoor antenna should disappear into the background after installation. You turn on the TV, watch clear local programming, and get back to enjoying the channels that matter to your household. If the roof, signal path, or wiring gives you any doubt, getting an expert assessment before mounting can protect your home and make the switch to over-the-air TV feel refreshingly simple.